Install for Claude Desktop
Connect to SolarSENS AI through Claude Desktop's built-in connector interface.
- Claude Desktop (Pro, Team, or Enterprise plan)
- SolarSENS MCP server URL (provided by your administrator)
Installation Steps
Step 1: Open Connectors Settings
- Launch Claude Desktop
- Click the Settings icon (gear icon in the bottom-left)
- Navigate to Connectors
- Click Manage Connectors
Look for the settings icon (⚙️) in the bottom-left corner of Claude Desktop.
Step 2: Add Custom Connector
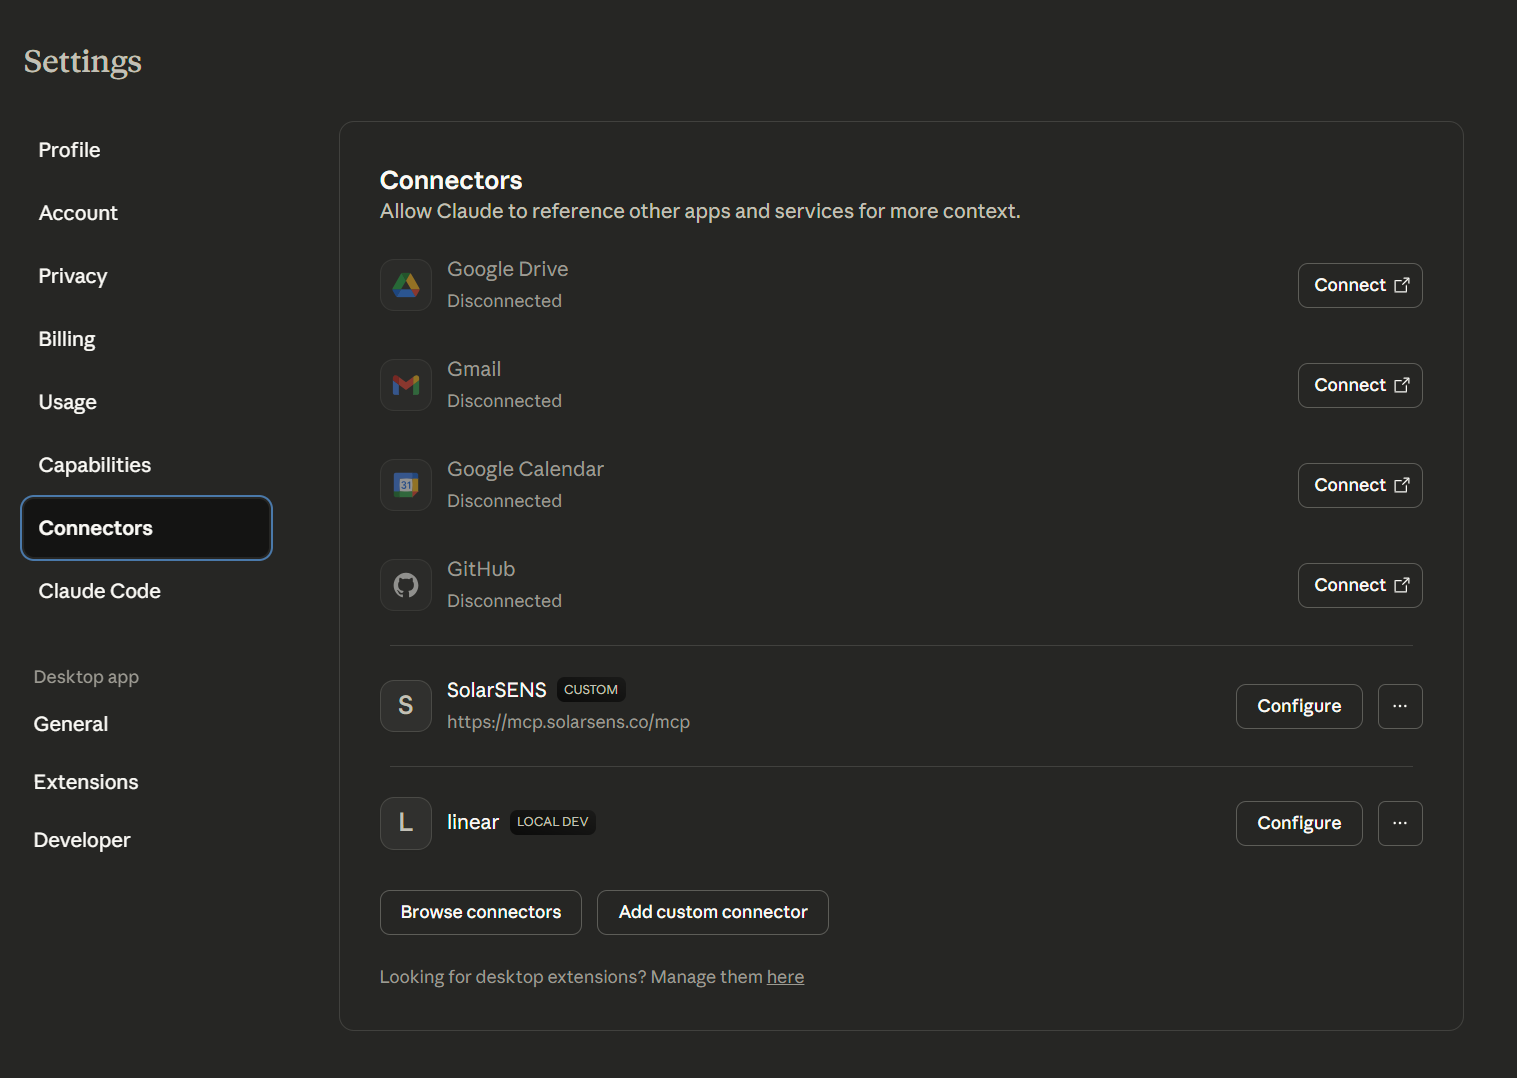
In the Manage Connectors dialog:
- Click Add custom connector
- Fill in the following information:
- Name:
SolarSENS (or any name you prefer) - URL: Your SolarSENS server URL (e.g.,
https://mcp.solarsens.co/mcp)
- Name:
- Click Add
https://mcp.solarsens.co/mcp
Your administrator will provide you with the exact server URL. Make sure to copy it exactly as provided.
Step 3: Restart Claude Desktop
- Quit Claude Desktop completely
- macOS: Cmd+Q or Claude Desktop → Quit
- Windows: File → Exit or Alt+F4
- Restart Claude Desktop
Step 4: Authenticate
When you first use SolarSENS tools:
- Claude will prompt you to authenticate
- A browser window will open
- Sign in with the credentials provided by your administrator
- Authorize the connection
- Return to Claude Desktop
You're all set! 🎉
Verify Installation
Check that SolarSENS MCP is connected:
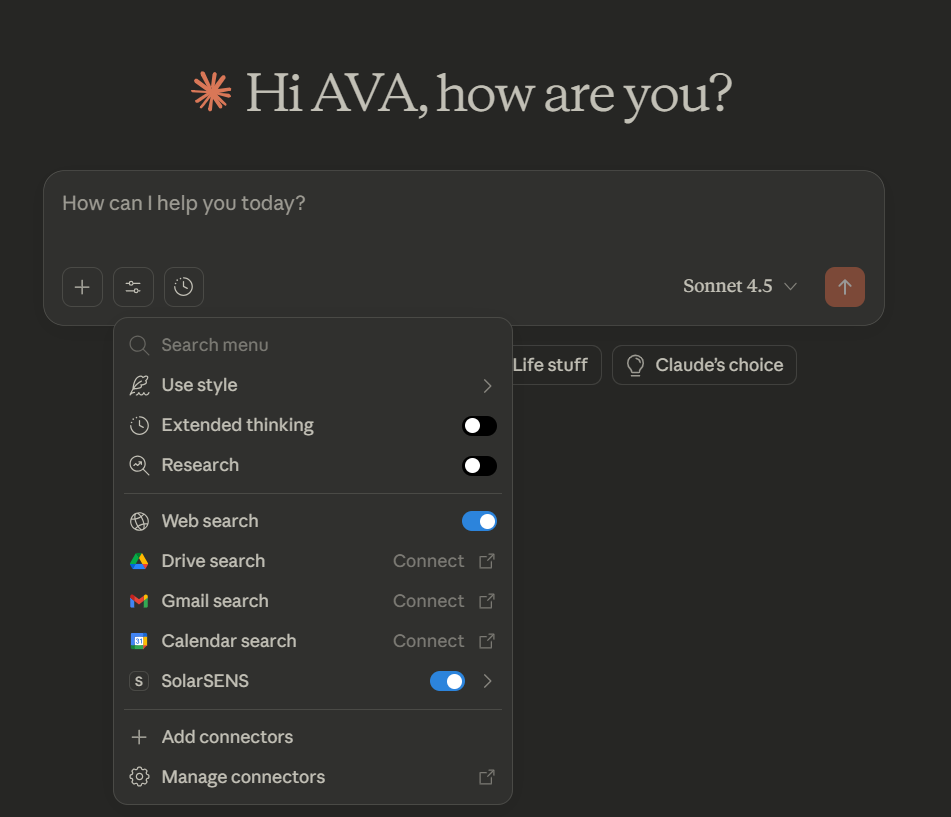
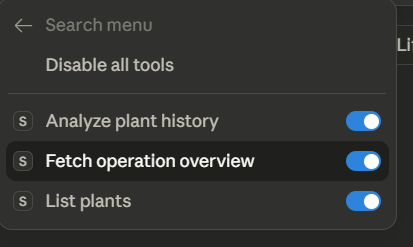
- Try asking Claude:
"List all plants I have access to"
First time users will be prompted to grant permission to use the tools.
If you see your solar plants listed, the connection is working!
Troubleshooting
Can't Find "Add Custom Connector"
Issue: The option doesn't appear in Connectors settings
Solution:
- Ensure you have a Claude Pro, Team, or Enterprise plan
- Free Claude accounts don't support custom connectors
- Upgrade at claude.ai
Server Not Connecting
Issue: Added connector but can't use tools
Solutions:
- Verify server URL - Ensure you copied it correctly from your administrator
- Restart Claude Desktop - Fully quit and reopen the app
- Check internet connection - Make sure you can access the server URL
- Contact your administrator - Verify the server is running
Authentication Fails
Issue: Browser opens but login doesn't work
Solutions:
- Check credentials - Use the exact username/password from your administrator
- Clear browser cache - Try in an incognito/private window
- Try different browser - Some authentication flows work better in Chrome/Firefox
- Contact your administrator - They may need to grant you access
Tools Not Showing Up
Issue: Connected but Claude says tools aren't available
Solutions:
- Look for hammer icon - If you don't see 🔨 in bottom-right, connector isn't active
- Restart Claude Desktop - Quit completely and reopen
- Re-add connector - Remove and add the custom connector again
- Check plan status - Ensure your Claude plan hasn't expired
Advanced: Manual Configuration
Most users should use the UI-based approach above. Manual configuration is only for specific setups.
Show manual configuration instructions
If your administrator requires manual JSON configuration:
- Open Claude Desktop Settings
- Go to Developer tab
- Click Edit Config
- Add this configuration:
{
  "mcpServers": {
    "solarsens": {
      "command": "npx",
      "args": [
        "-y",
        "mcp-remote",
        "https://mcp.solarsens.co/mcp"
      ]
    }
  }
}
Save and restart Claude Desktop.